This screen helps you take the first picture of a spot and store it in an easy-to-find place. All you need to do is shown here. Screenshots of the iOS version of the app are shown on the left and the Android version on the right.
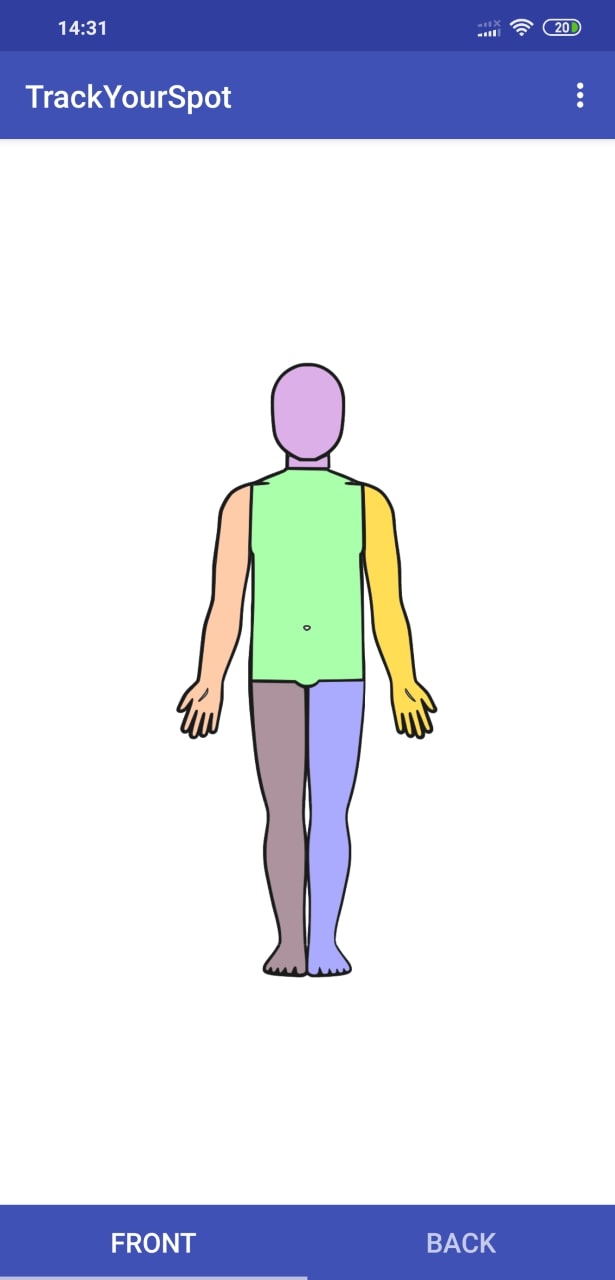
1. You'll see picture of the front of the body, with different colored parts. You can press the "Front" or "Back" navigation buttons to switch between the front and back of the body. Click on the body part where you have the spot.
iOS |
Android | 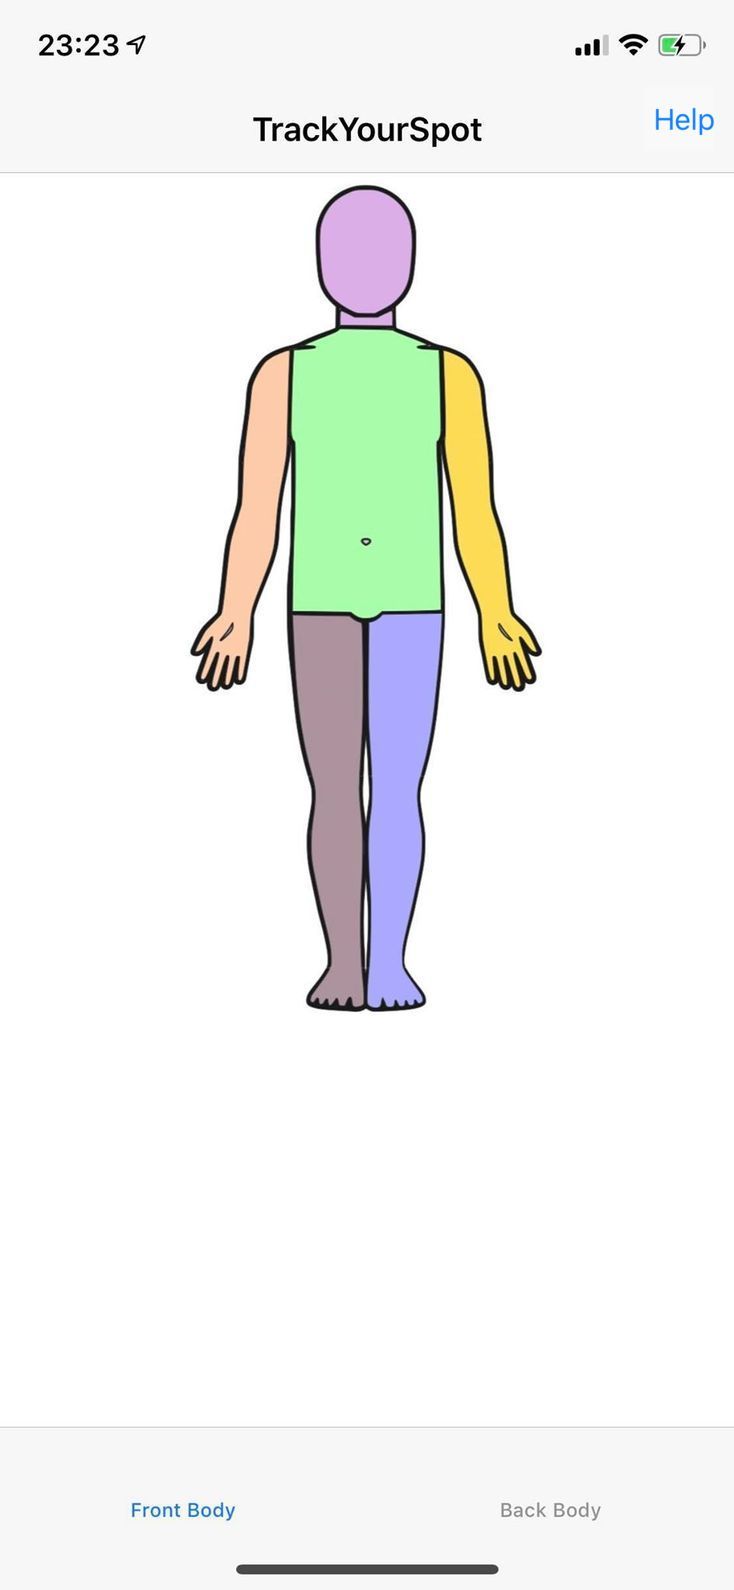 |
 |
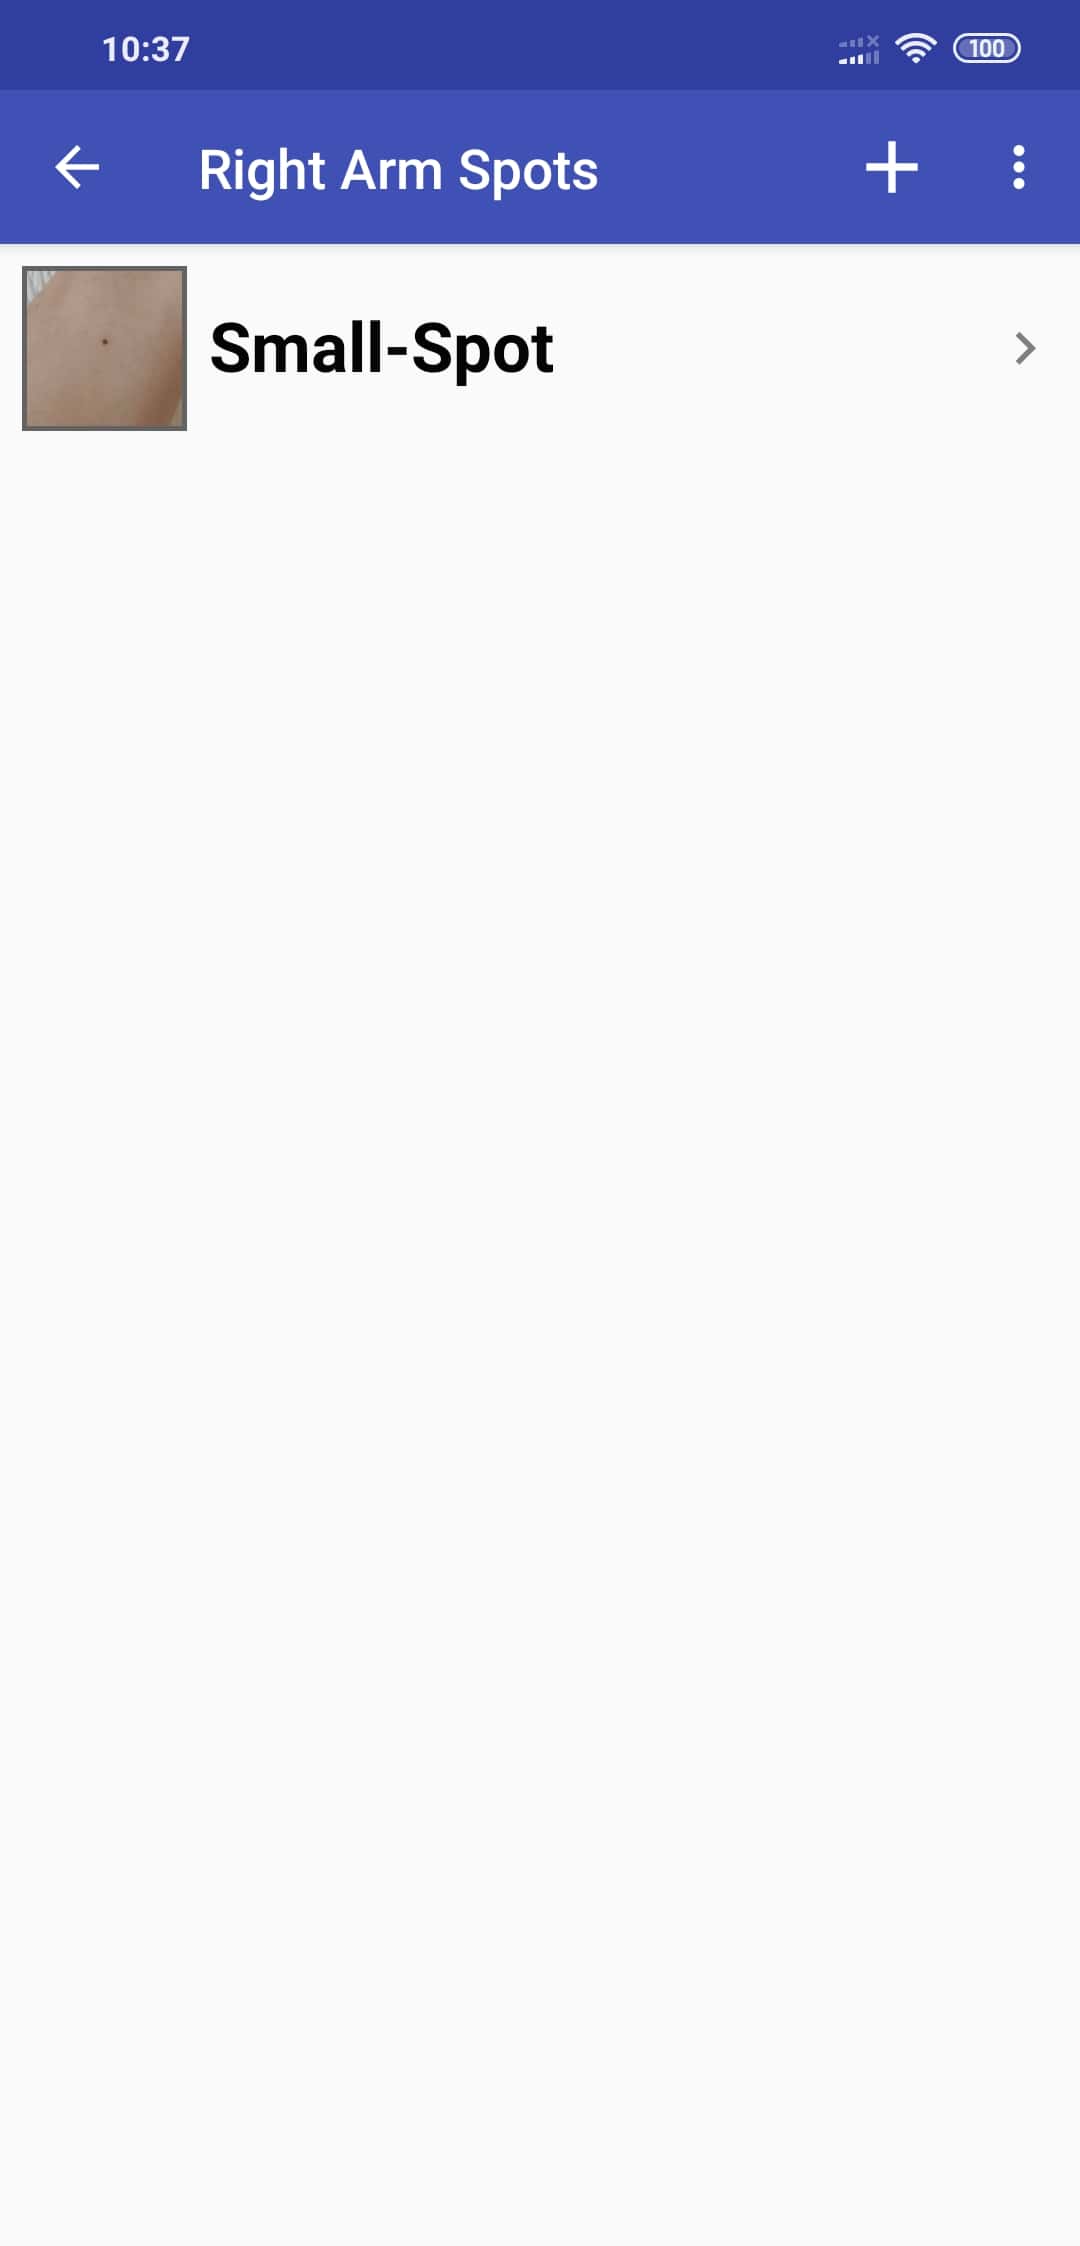
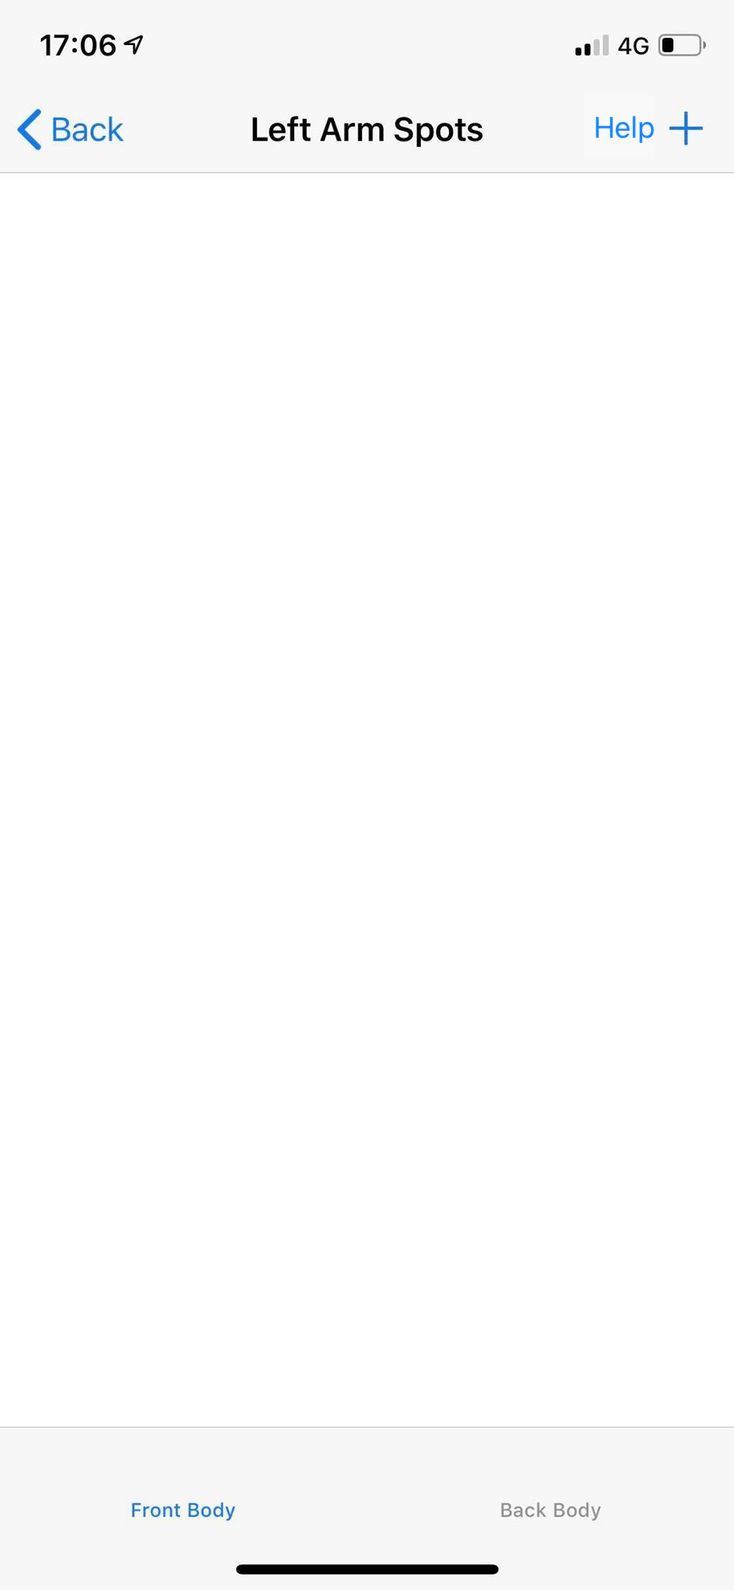
2. You get this screen, which gives the name of the selected part. Click on the "+" button to start taking a picture.
 |
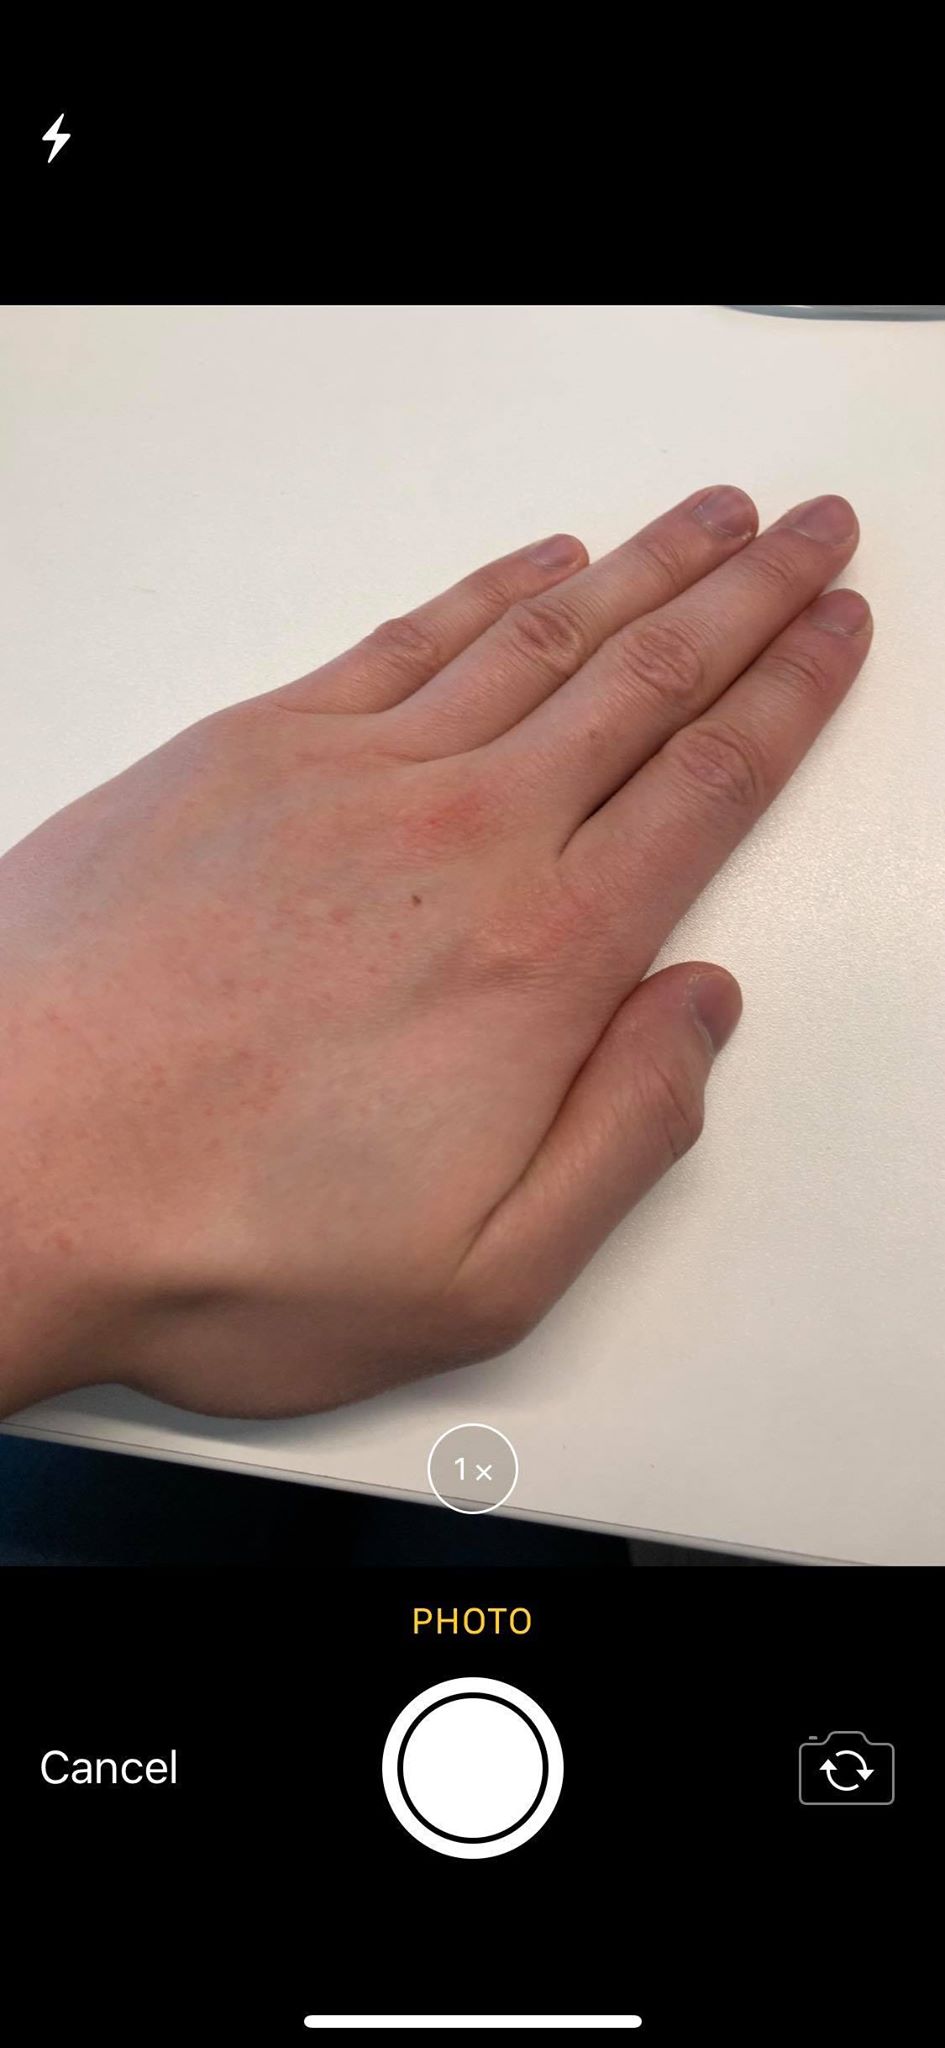
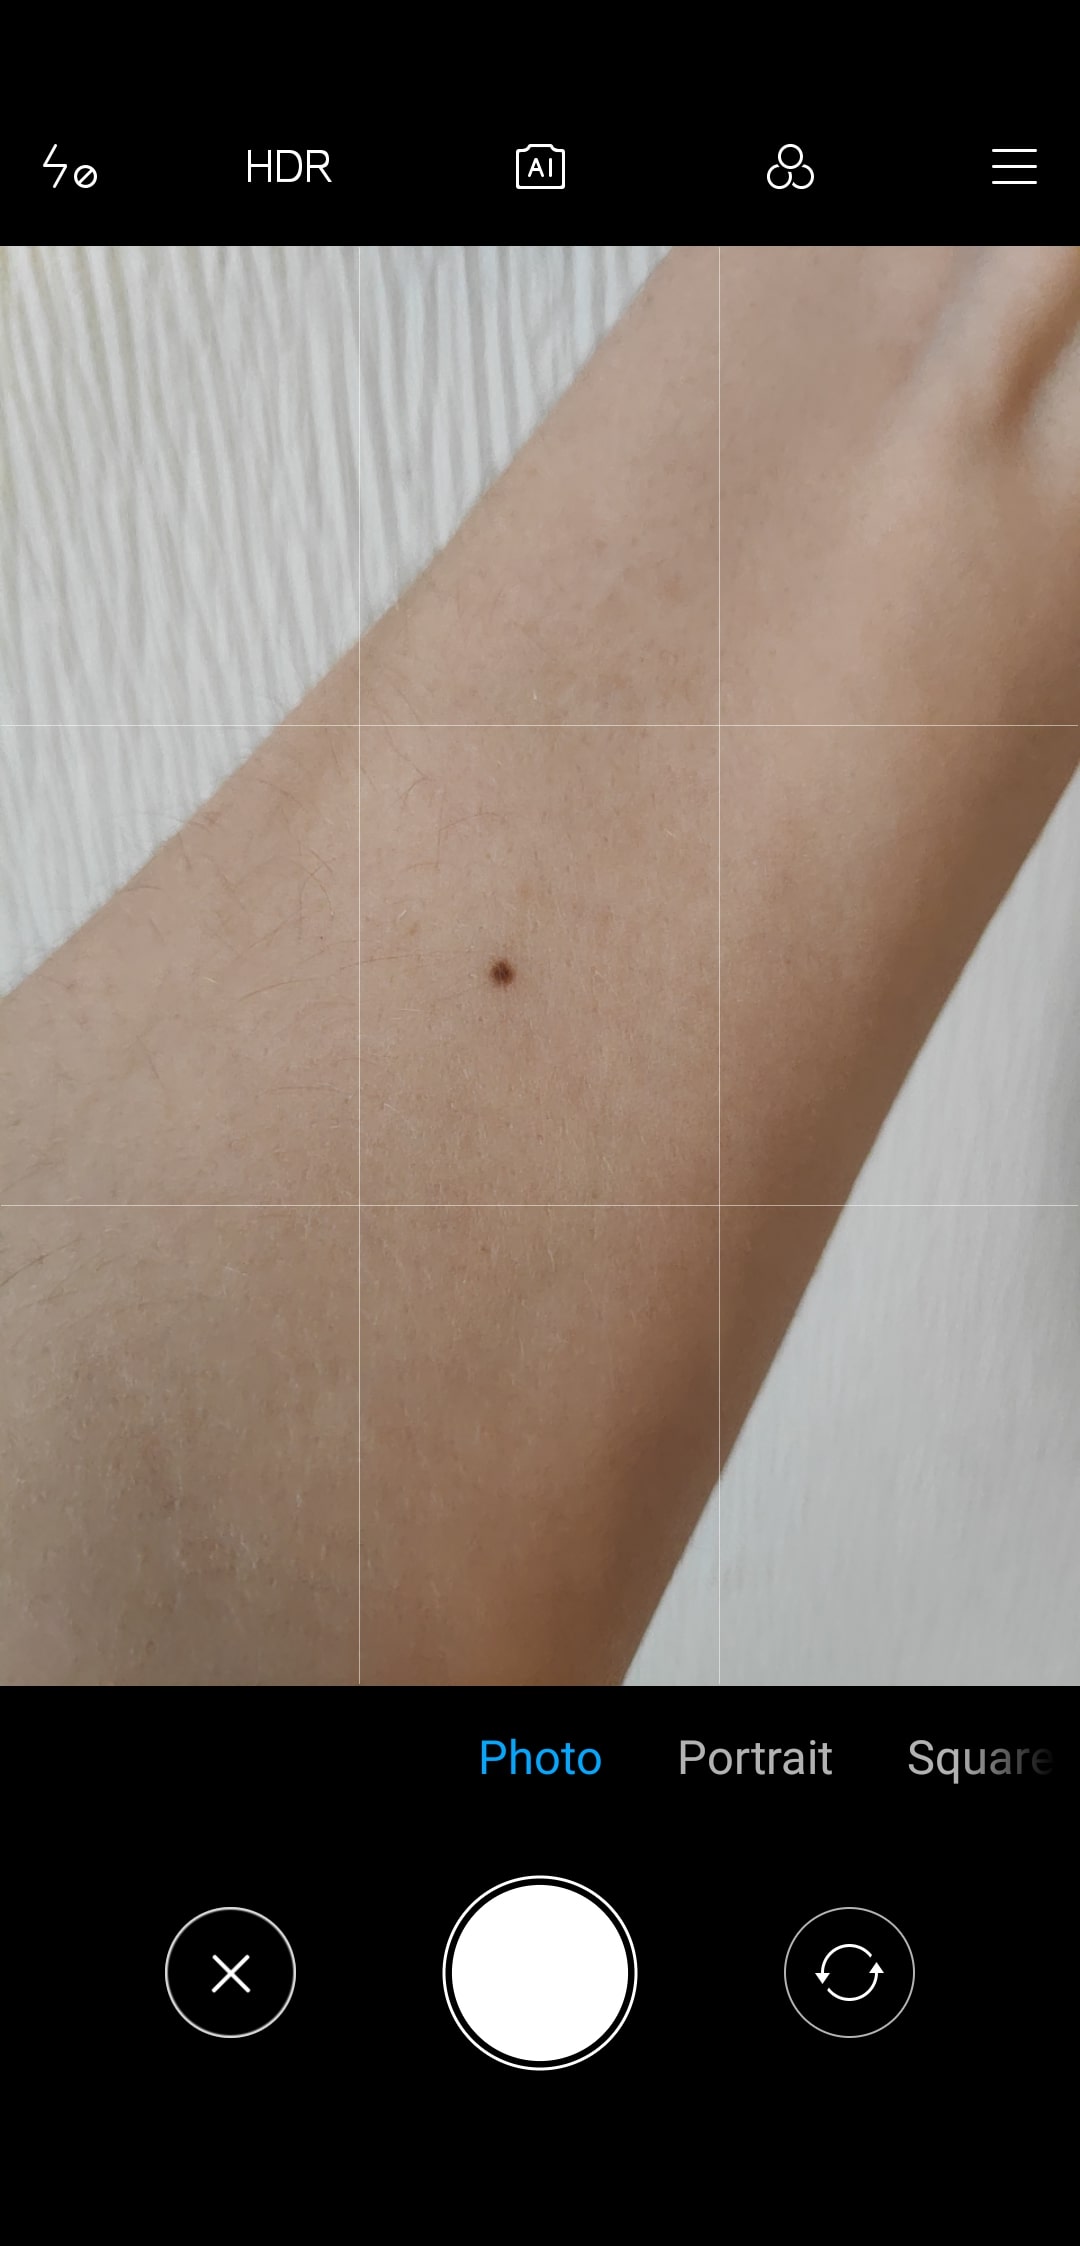
3. Your phone's camera is now activated. Position the phone about 4 inches/10 centimeters from the spot. Click the capture button (position may depend on your phone) if you are happy with the image, and then the OK button that appears (not shown). An example is seen here:
 |
 |
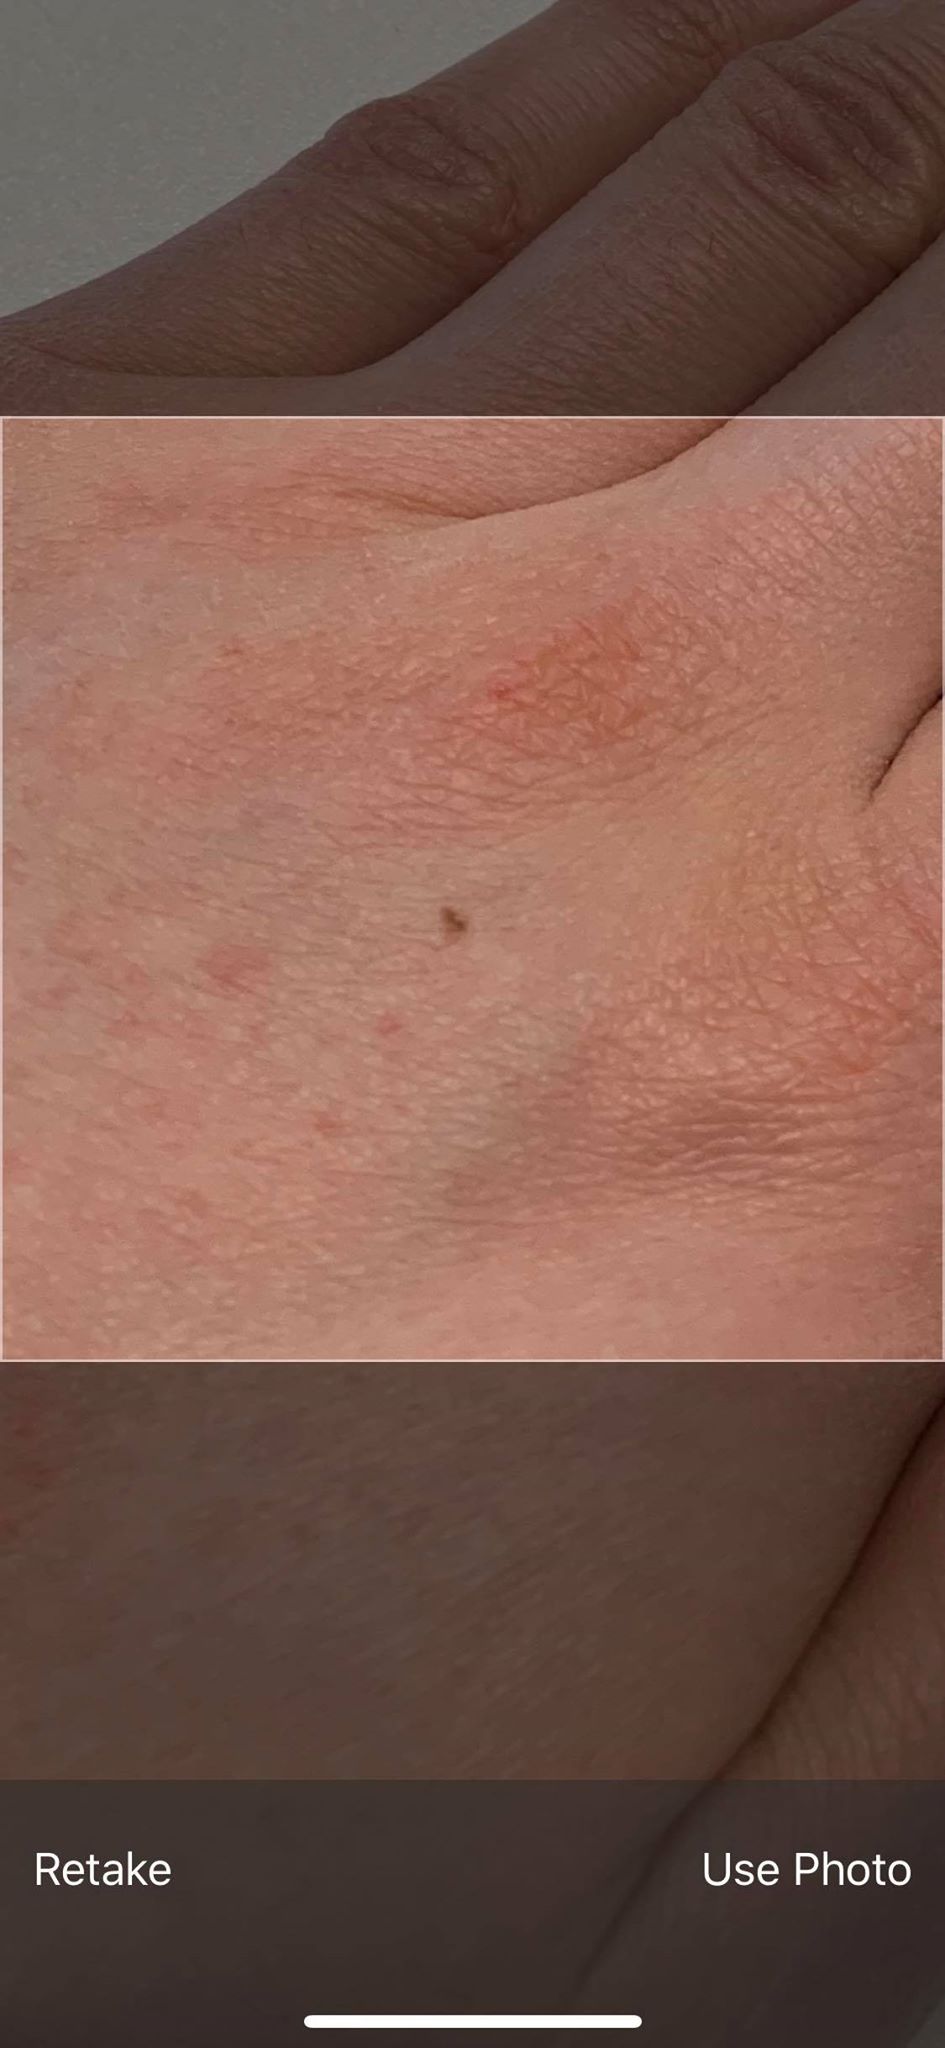
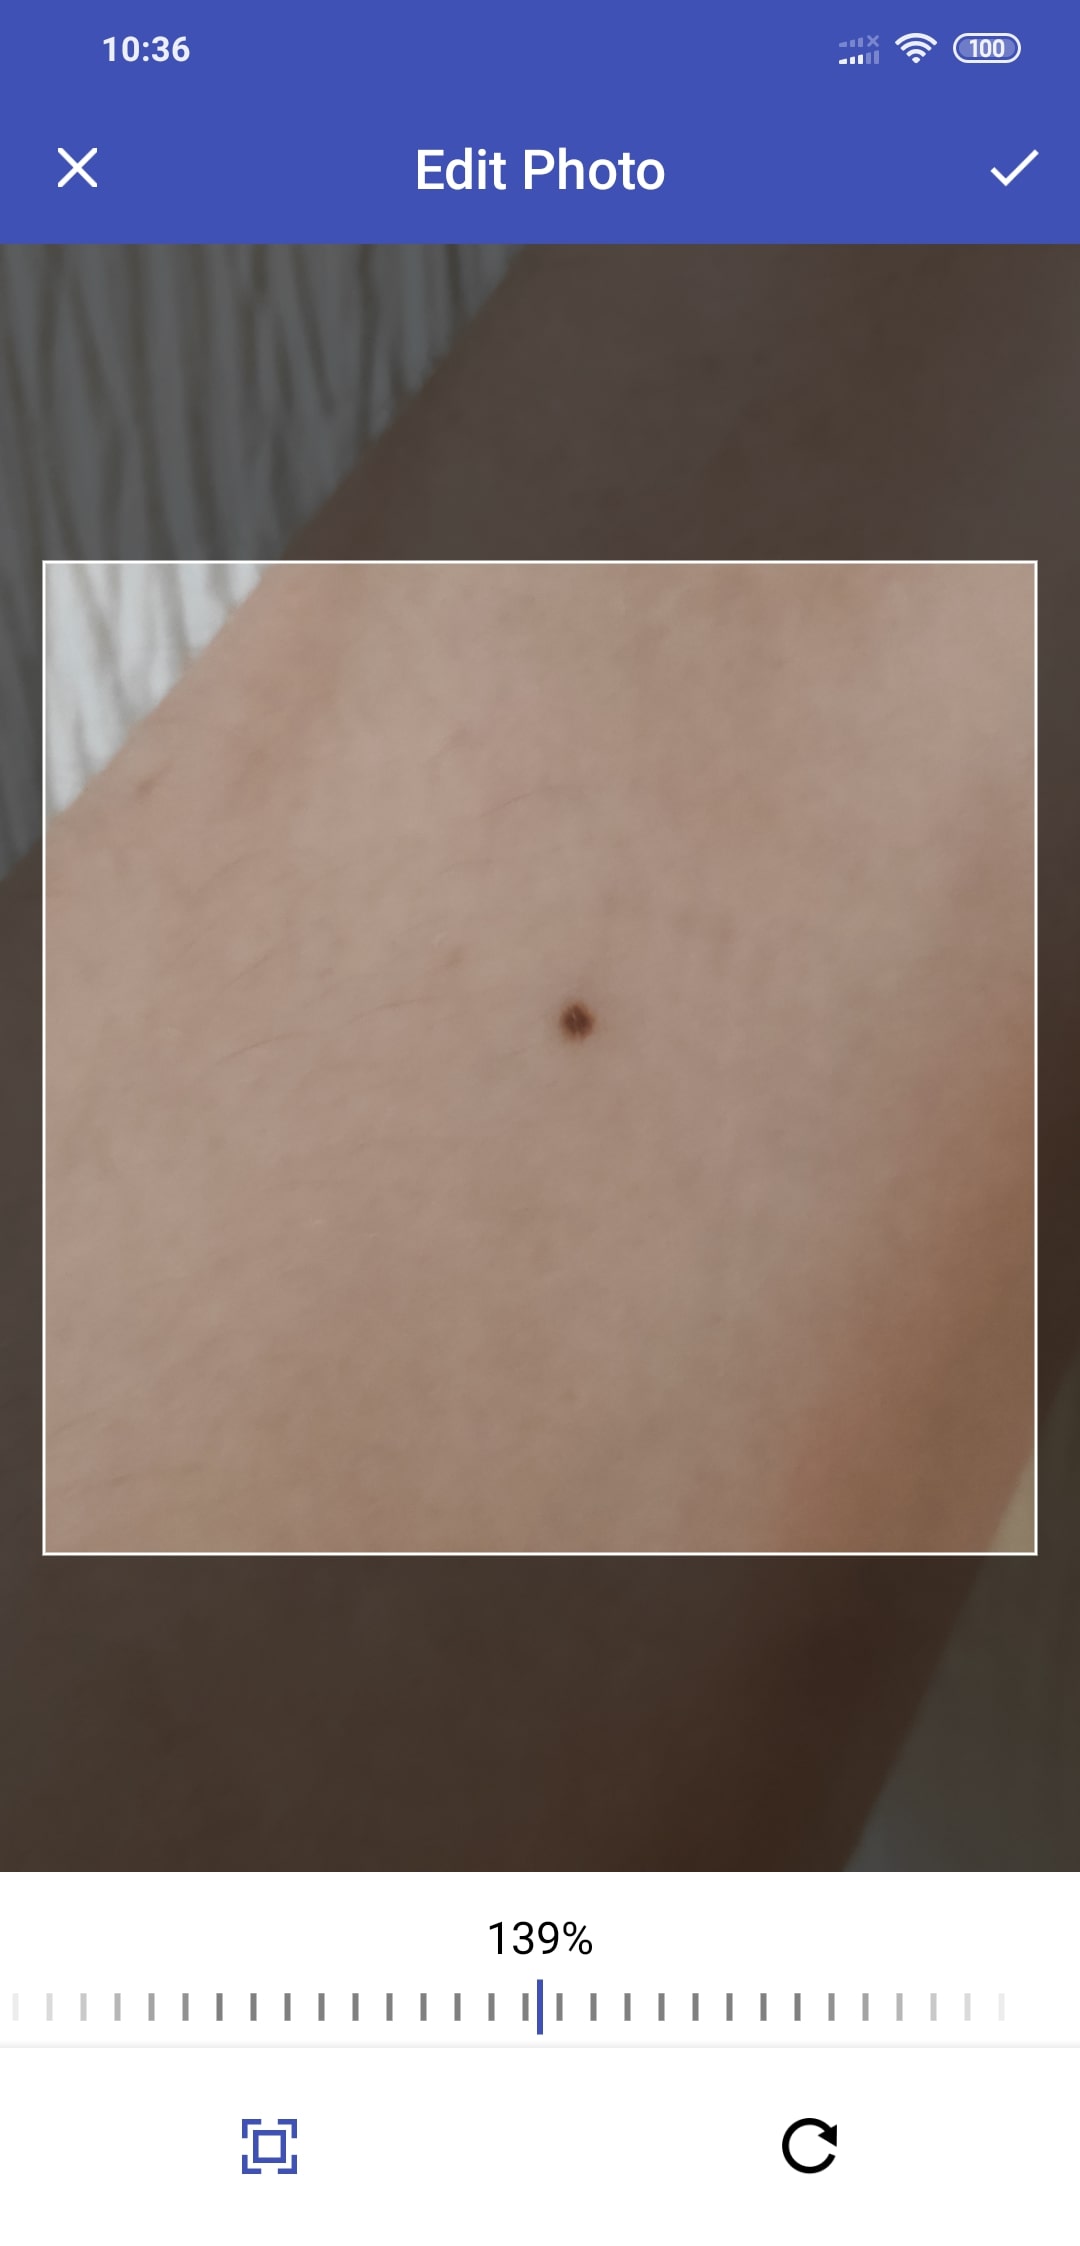
4. The next step is to crop the image so that the spot covers the center of the image. Crop the image to a close up picture of the spot, press the "Use Photo" or "✓" when you're happy. For iOS, you can simply pinch to zoom. For Android, you have the option to zoom by sliding on the scale. Center the spot by dragging the image with your finger.
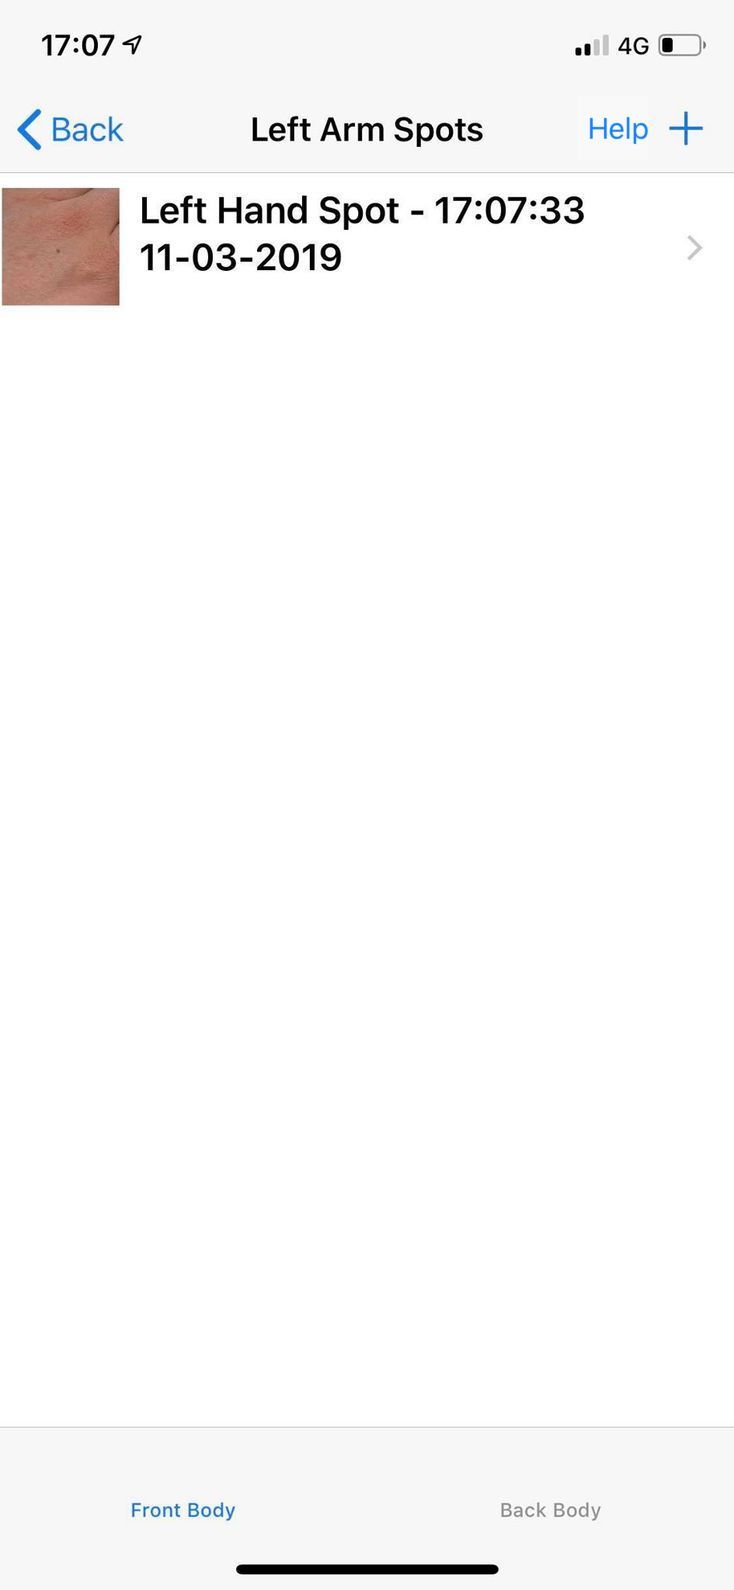
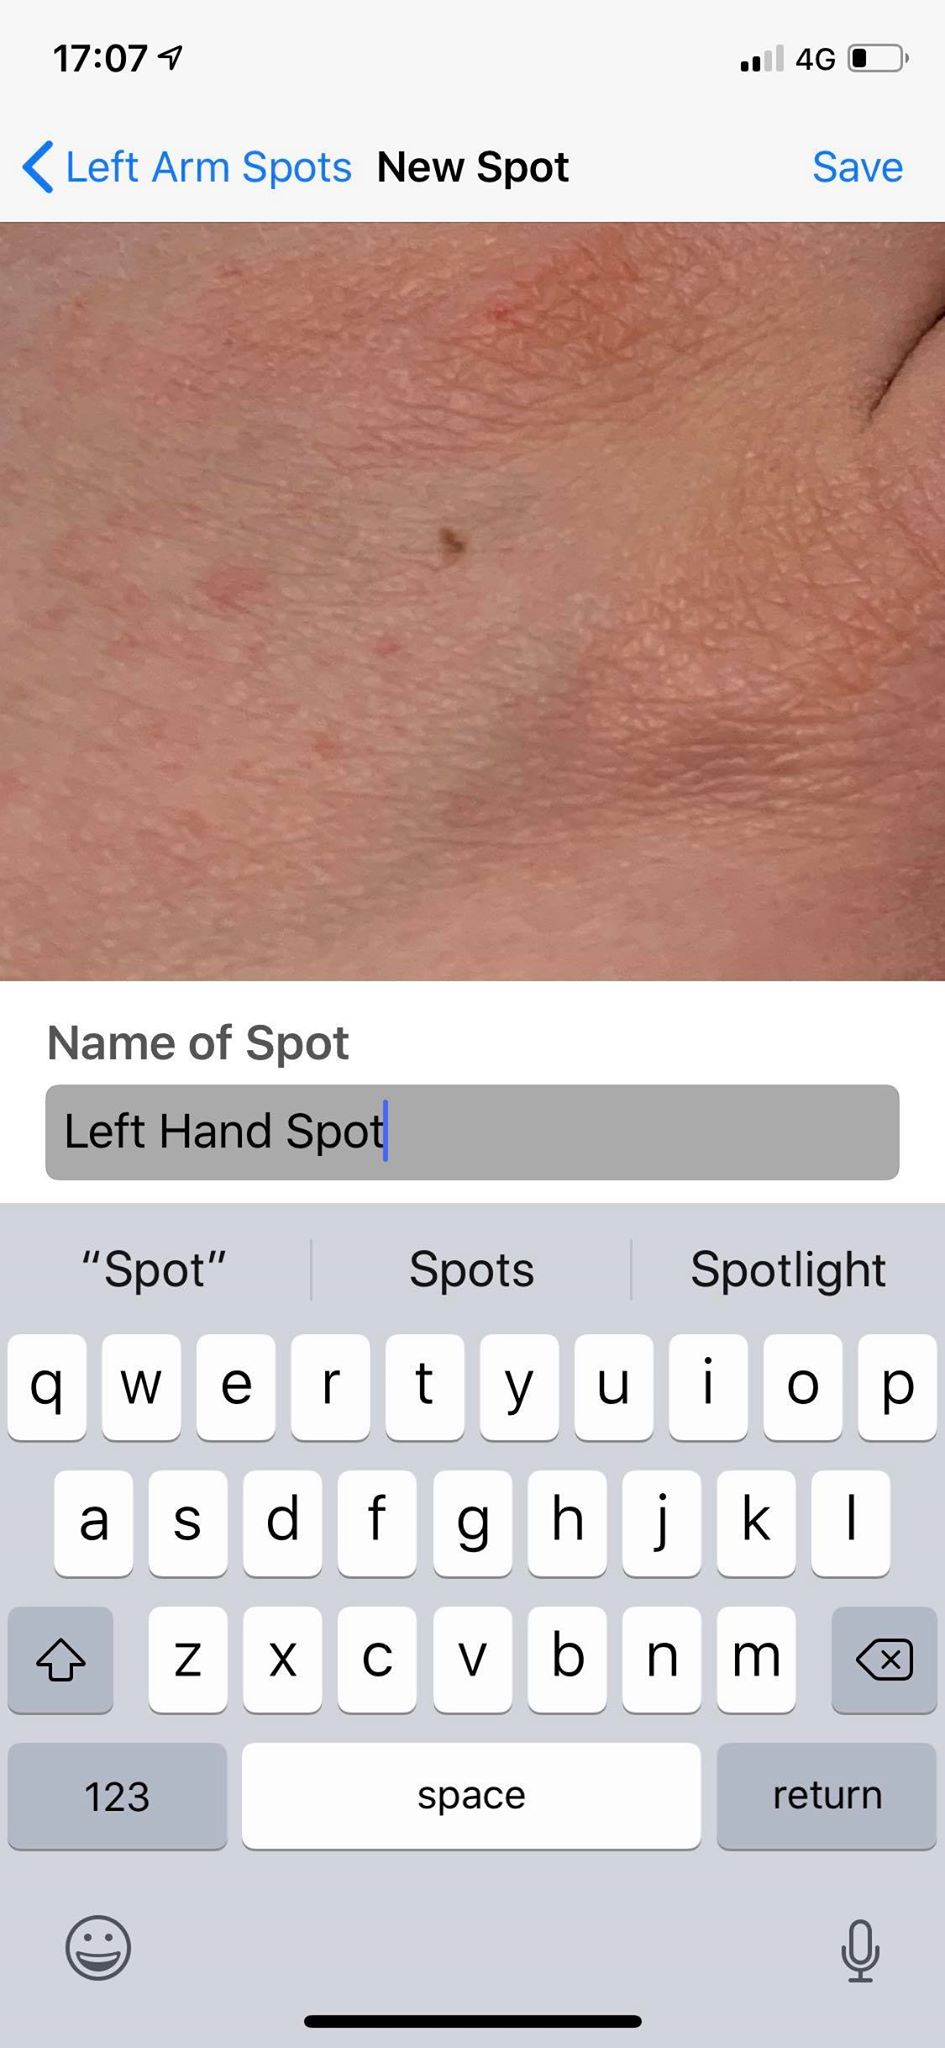
5. You next get to enter a name for the spot so that you can compare it to another photo in a few months. This pops up a keyboard. Type the name you want for the spot, then click the "✓" button.
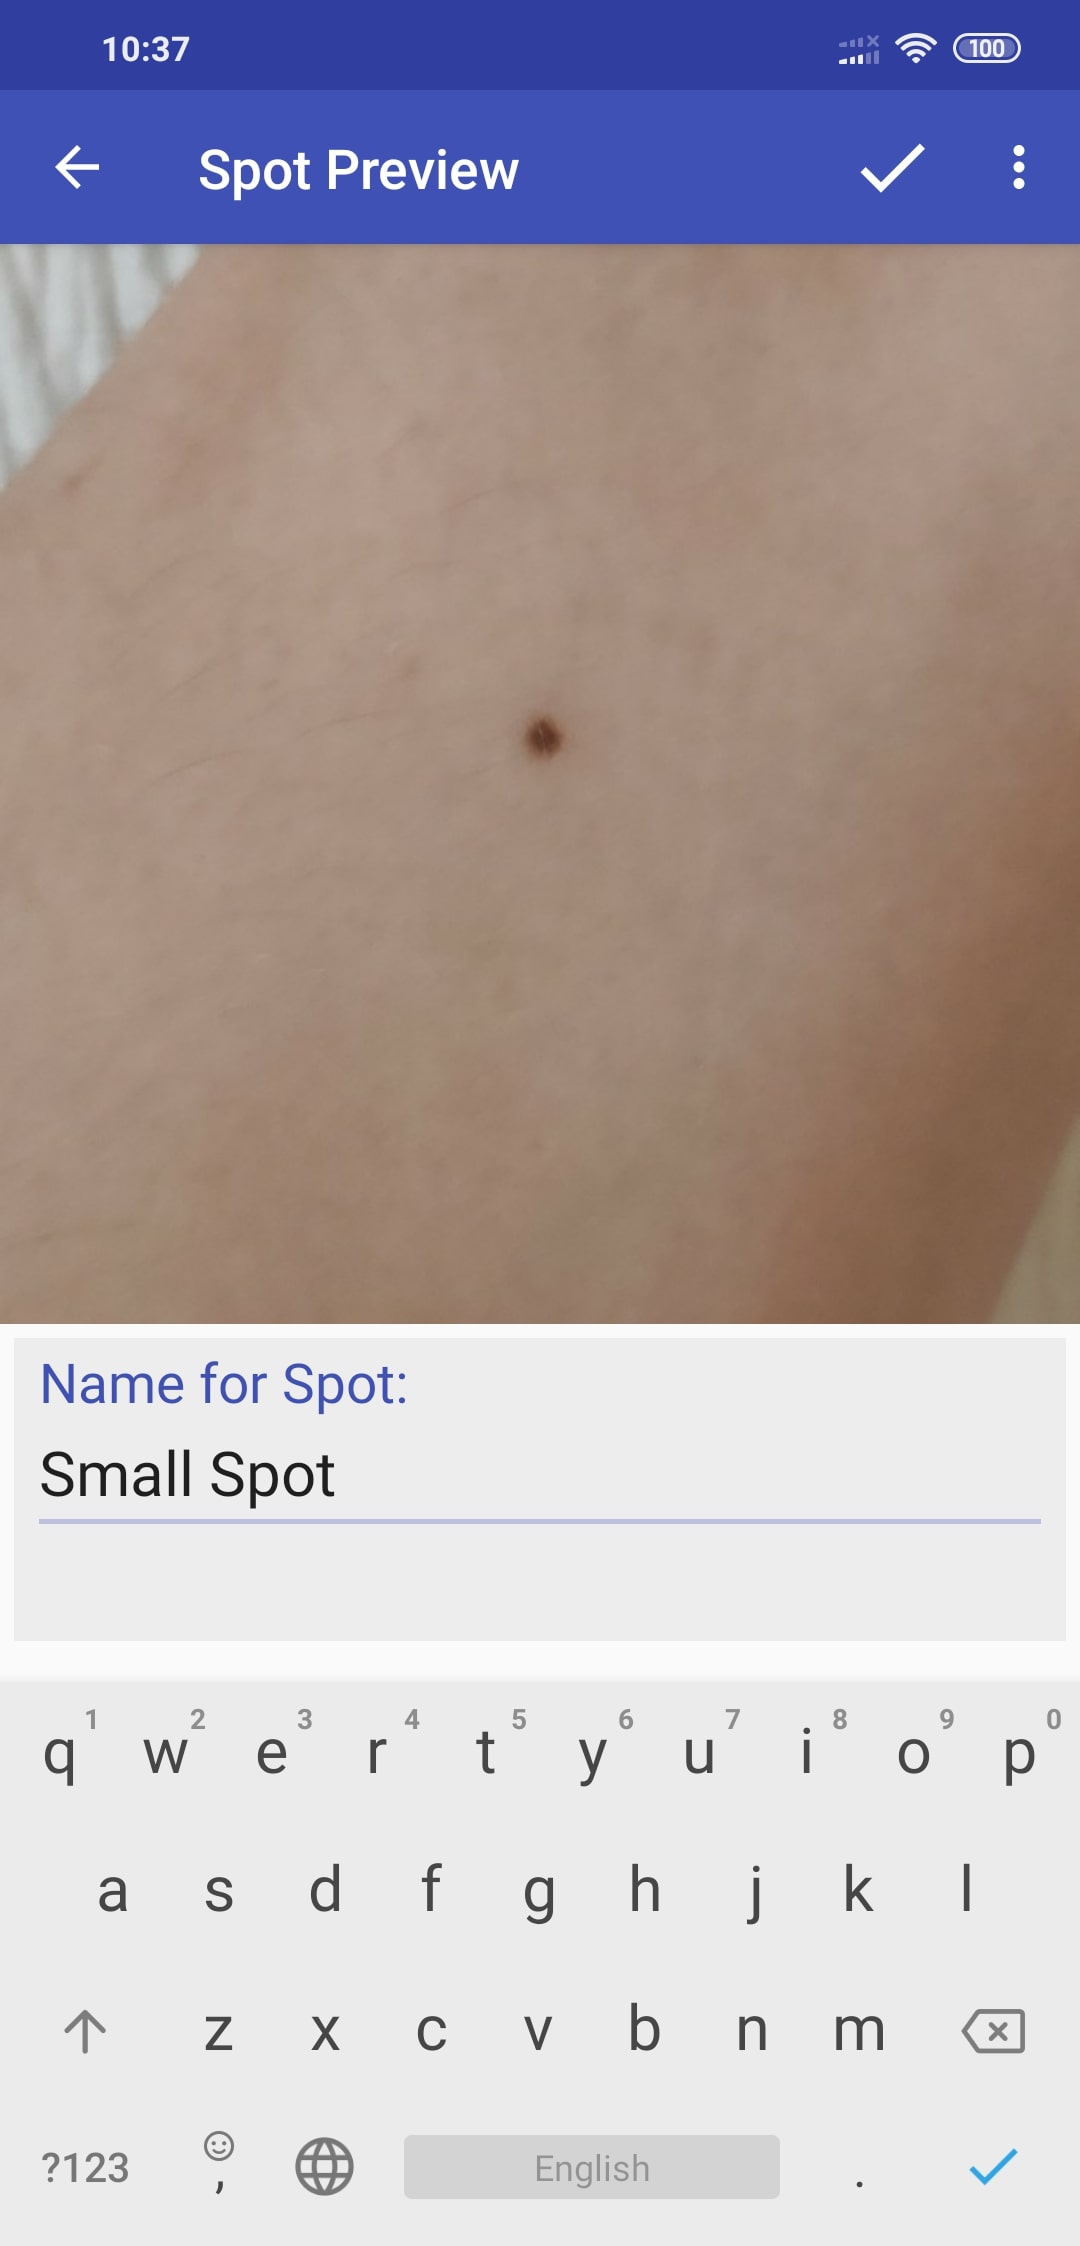
6. This is the image that has been saved. From here, you can return to the Home screen (<-) to start a new task or take more images (+) to compare to this spot.